Photos and recipe by Amy Fewell
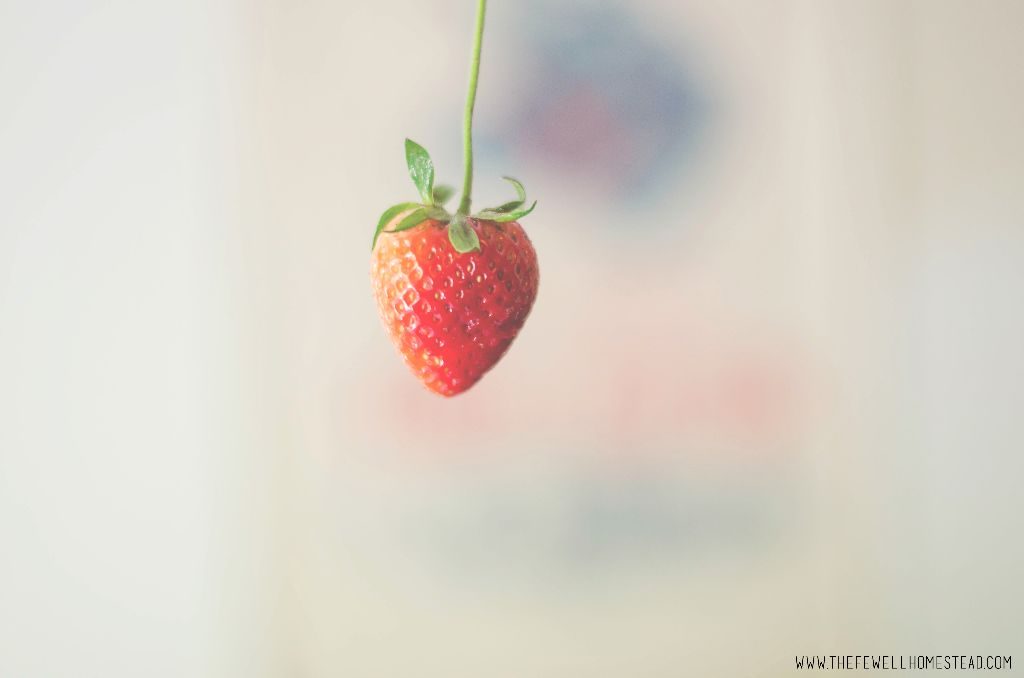
 Last year was the very first year we went strawberry picking. It was a no-brainer this year. We had to go strawberry picking at Messick’s Farm again this year. And then when we discovered that they were running a special of “buy two gallons, get one free,” we were on it! When we got home with this years pick, I instantly knew what I would make first—strawberry jam. Last year I wanted to make it so badly, but never had a chance to make anything but a quick strawberry jammy-syrupy topping for ice cream. This year, it was much different.
There was some amazing, yummy goodness going on in my kitchen the other day. And I just have to share the recipe with you!
This is a recipe that is found all across the internet, in cookbooks, and in your grandma’s memory. It is quick and easy. It has been tried and tested for years, and it’s about time you put it to the test for yourself.
Whenever making jam, you want to make sure that you have all of your utensils and ingredients together before you begin. All jars need to be sterilized and set aside before starting your jam. Make sure you have jars, lids, a ladle, and a jar funnel for pouring the jam into your jars. Have all of this ready before proceeding to make the jam.
 Homemade Strawberry Jam
2 quarts of fresh strawberries (destemmed and sliced in half)
1/3 to 1/2 cup fruit pectin (depending on your preference of thickness)
4 tbsps. fresh lemon juice
1 tsp. butter
7 cups refined sugar (organic cane juice works too)
1. Measure 2 quarts (I just use quart jars) of destemmed and sliced strawberries into a large bowl.
2. Smash strawberries to break into smaller pieces and to release juice from the berry. If you prefer not to have larger chunks in your jam, then you’ll need to pulse your berries in a food processor a few times.
3. Pour crushed berries into a large (6+ quart) pan.
4. Add pectin, butter, and lemon juice to crushed berries.
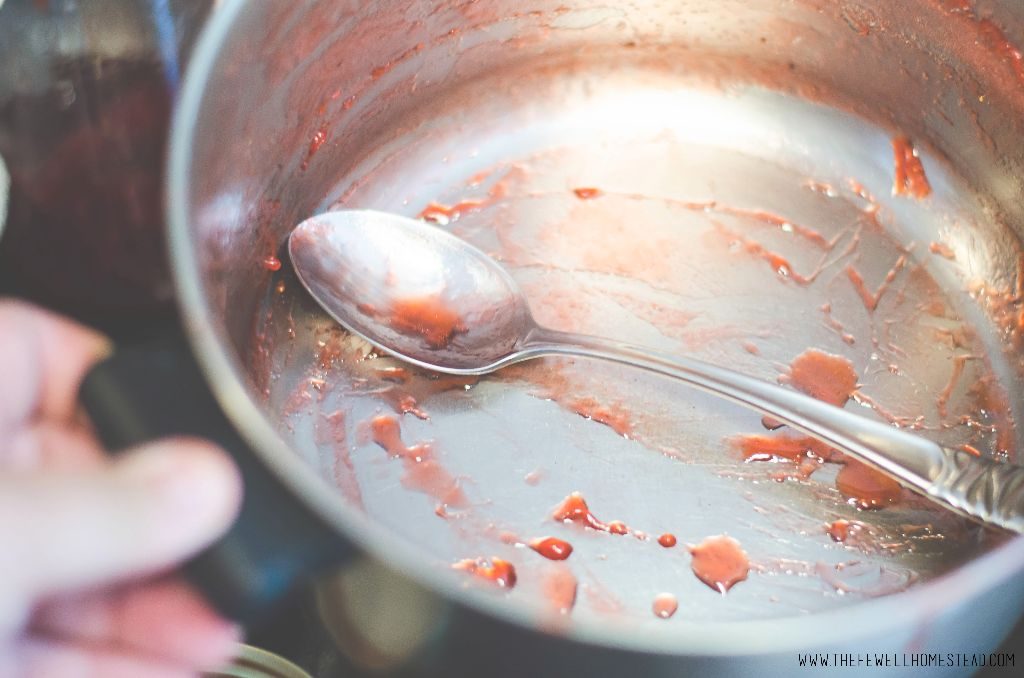
5. Bring to a boil over medium high heat—stirring constantly. Do not allow it to scorch on the bottom.
6. Pour in pre-measured sugar until it is completely dissolved. Stir constantly.
7. Bring mixture back up to a boil that cannot be stirred down, stir constantly for two minutes while it boils.
8. Be careful not to burn yourself! Boiling jam is extremely sticky and painful!
9. After two minutes, immediately remove from heat and immediately skim off what little foam may be on top of jam.
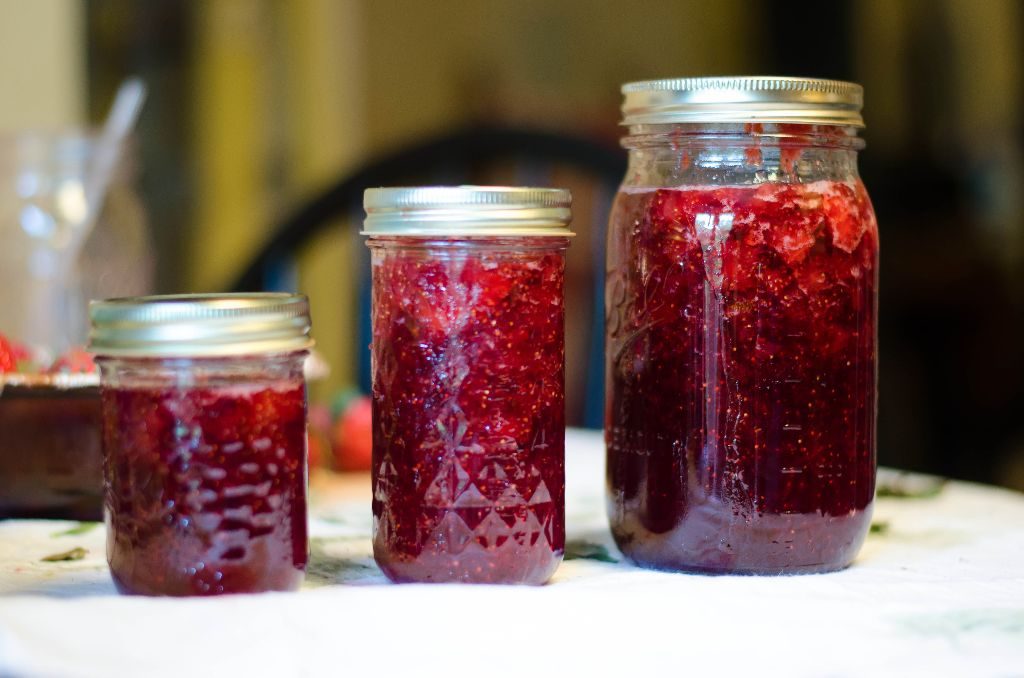
10. Quickly ladle into jars, cap with lid and ring. Do not tighten too hard.
11. Over the next few hours your jars will begin to seal themselves. They will last in your pantry for well over a year or more.
12. If any of your jars do not seal, remove the lid, replace with new lid, and place in a hot water bath canner for 20 minutes.

Leave a Reply